July 31, 2026
Investing in roof replacements is one of the most impactful upgrades you can make to your home, drastically improving both its structural integrity and curb appeal. According to recent data from HomeGuide, installing a brand-new roof can significantly boost your property's value, allowing homeowners to recoup between 60% and 85% of their initial investment depending on the specific materials used. Navigating this major home improvement project goes smoothly when you know exactly what to anticipate from the first hammer drop to the final cleanup.
1. Preparing Your Property Before the Crew Arrives
The process of successful roof replacements begins well before the first shingle is stripped away. Homeowners need to actively prep the exterior and interior of their living space to prevent accidental damage from vibrations and falling debris. Move patio furniture, vehicles, grills, and potted plants far away from the perimeter of the house to keep them safe. Inside your home, it is wise to secure fragile wall decorations and mirrors, as the intense hammering on the roof will cause walls to vibrate. Lastly, make arrangements for your pets and children, as the constant noise can be highly disruptive and stressful throughout the workday.
2. Managing Material Delivery and Dumpster Placement
A day or two before the actual labor begins, large commercial flatbed trucks will arrive to drop off the bulk roofing materials. Heavy bundles of shingles, rolls of underlayment, and metal flashing will be staged on your driveway or hoisted directly onto your roof deck. Simultaneously, a large roll-off debris dumpster will be positioned on your property. It is crucial to coordinate with the delivery drivers regarding the exact placement of these heavy items. Ensure they do not block garage doors, active walkways, or delicate landscaping features, as they will remain stationary until the entire project is completed.
3. Enduring the High Noise Levels and Heavy Vibrations
You should expect a significant amount of noise, pulsing vibrations, and general commotion during the entire construction window. The process involves multiple crew members walking overhead, throwing heavy bundles of shingles, and constantly utilizing air compressors and pneumatic nail guns. This racket usually begins early in the morning and continues systematically until the sun goes down. If you work from home, care for a sleeping newborn, or are highly sensitive to loud noises, you should plan to spend the peak construction hours away from the property.
4. Tearing Off Your Old Failing Roof Materials
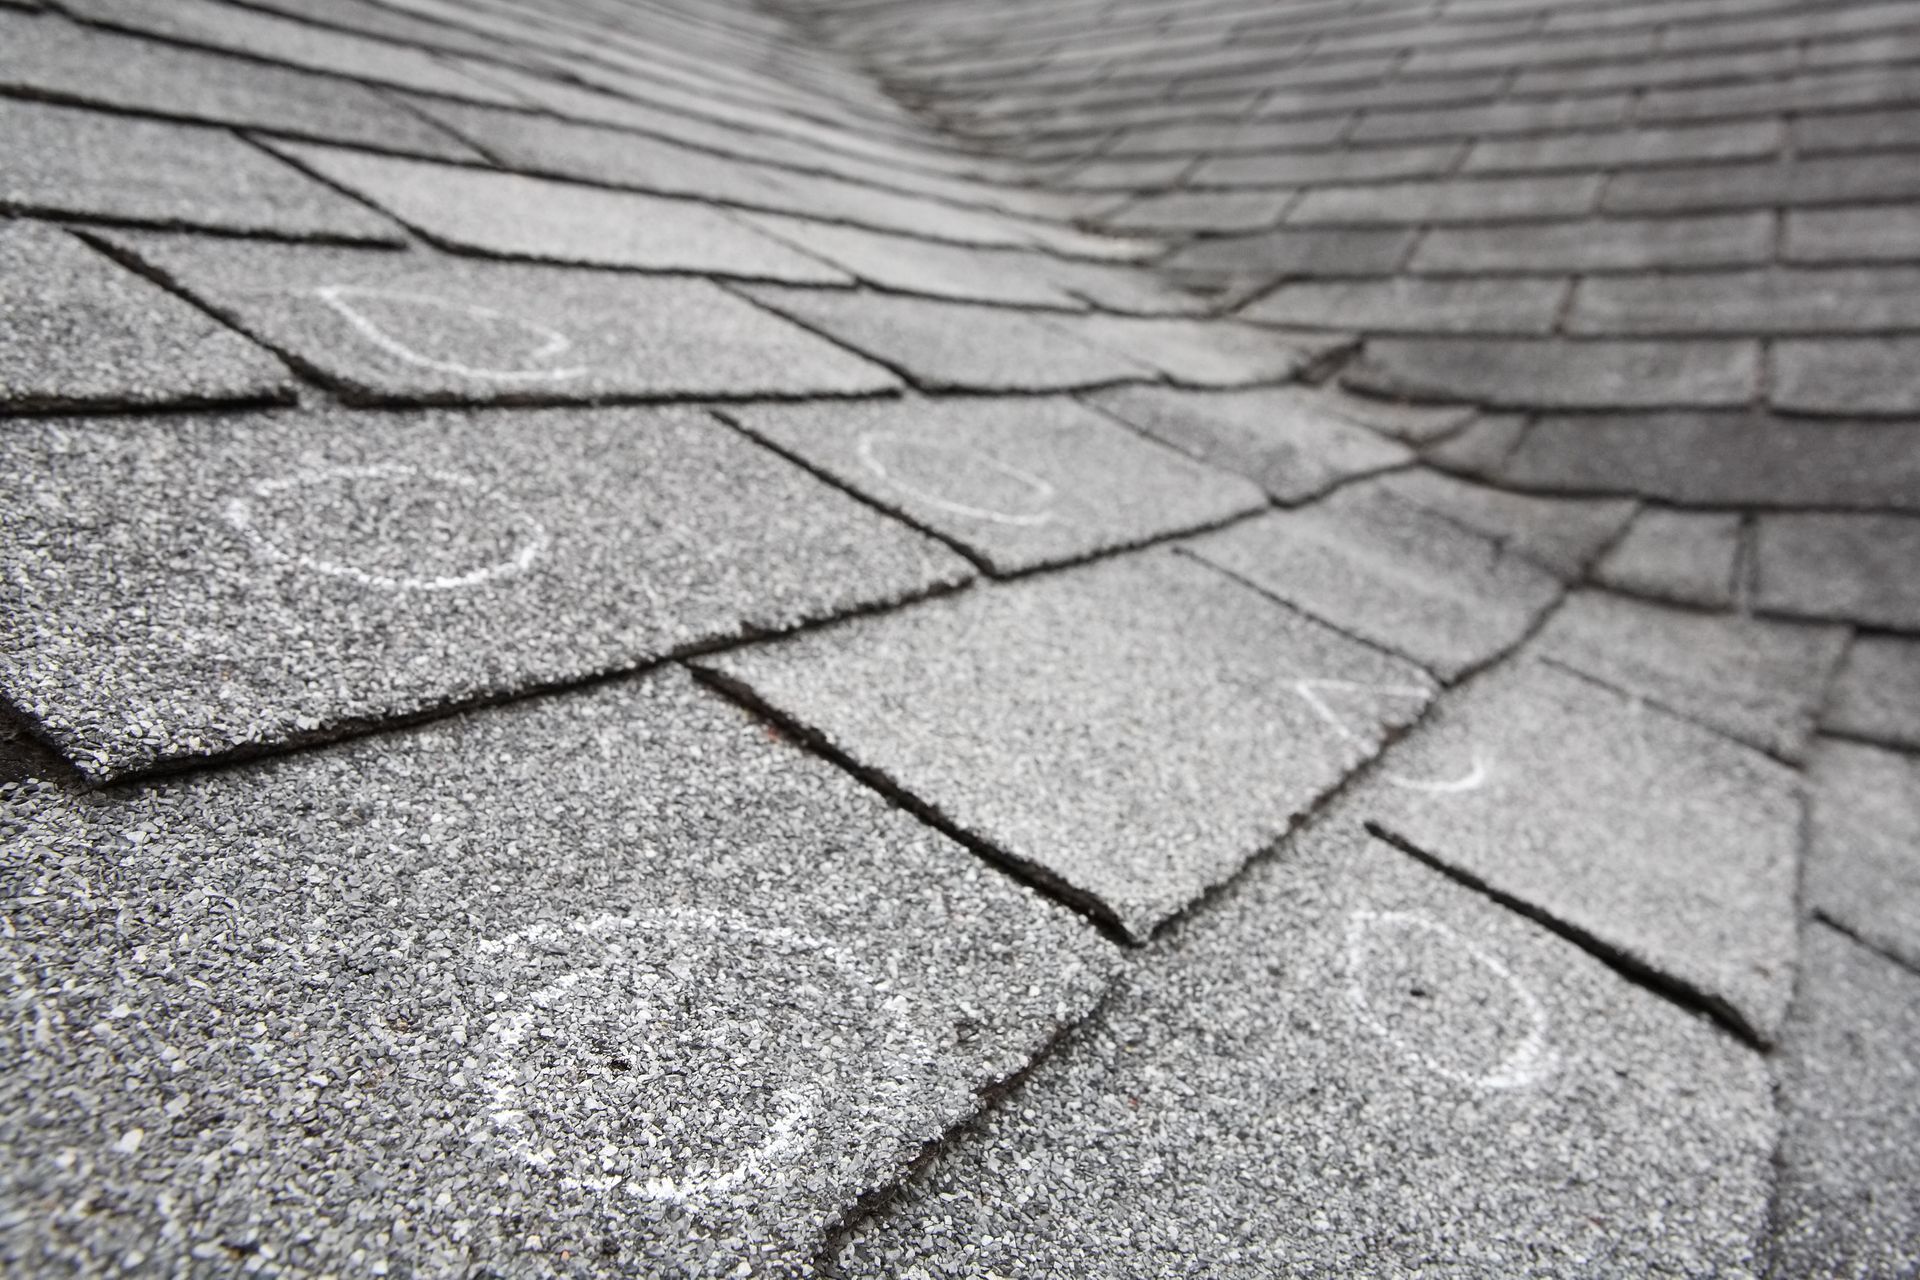
Once the crew sets up their safety gear, they will begin the messy process of ripping off your old shingles, underlayment, and flashing. This is often the most chaotic phase of the job, as tons of heavy, dusty material must be forcefully pried loose and thrown down into a large dumpster parked in your driveway. A reputable contractor will protect your landscaping and windows with heavy-duty tarps or specialized catch-all netting during this step. Expect your property to look like an active, cluttered construction zone for a short period while the old roof is systematically dismantled.
5. Inspecting and Repairing the Underlying Wood Decking
With the old shingles entirely removed, the installation crew will carefully examine the exposed wooden deck boards or plywood sheets underneath. This step is critical because nailing fresh shingles onto rotted, warped, or water-damaged wood will cause the new system to fail prematurely. If the team discovers hidden wood rot from past leaks, they will cut out the compromised sections and replace them with fresh, sturdy decking material. This structural remediation is vital for the longevity of all modern roof replacements, though it can sometimes add unexpected material costs to your initial estimate.
6. Installing the New Protective Weather Barriers
Before the visible shingles are laid down, your contractors will install a multi-layered defense system to keep moisture completely out of your home. They will first lay down a specialized ice and water shield along vulnerable valleys and eaves, followed by a breathable synthetic underlayment across the entire roof surface. Heavy-duty metal flashing will also be carefully secured around high-risk areas like chimneys, skylights, and roof intersections where water naturally pools. These hidden layers form the primary moisture barrier that keeps your home bone-dry during heavy rainstorms and winter blizzards.
7. Laying Down Your Roofing Shingles
This is the phase where your home's visual transformation officially takes place as the actual roofing material is systematically secured. The crew will utilize precise chalk lines to ensure every single row of shingles is perfectly straight and spaced for optimal wind resistance and water shedding. Depending on the size of your home and the complexity of its architectural slopes, laying down the shingles can take anywhere from a single afternoon to several days. The team will carefully cut and fit the pieces around vents and peaks to ensure a flawless, uniform finish.
8. Assessing and Upgrading Your Attic Ventilation System
In addition to providing a beautiful exterior, a professional roofing project should let your entire attic space breathe correctly to prevent heat buildup. Workers will cut or adjust ridge vents, soffit vents, or exhaust fans to guarantee proper continuous airflow beneath the new roof deck. Balanced ventilation prevents your attic from turning into a furnace during the hot summer months and stops destructive ice dams from forming in the winter. Getting this step right protects your new manufacturer warranty and helps keep your home's monthly energy bills manageable.
9. Conducting a Meticulous Cleanup of Your Property
After the final ridge cap is nailed down, the crew will transition into a thorough, meticulous cleanup mode to restore your yard to its original state. They will rake up stray pieces of felt paper, collect shingle scraps, and repeatedly sweep your grass, driveway, and walkways with powerful magnetic rollers to pick up thousands of dropped nails. The large debris dumpster will be hauled away from your driveway, and the team will do a final walk-around to ensure no trash is left behind in your bushes or gutters.
10. Completing a Final Inspection and Walkthrough
The final step of roof replacements is a comprehensive, top-to-bottom inspection conducted by the project manager or site foreman. They will climb back onto the roof to double-check the quality of the flashing, ensure the ventilation looks correct, and confirm every single shingle is laid perfectly. You will then do a final walkthrough on the ground together to review the finished product, discuss your material warranties, and sign off on the project completion paperwork.
11. Managing Post-Project Documentation and Warranties
Once the physical labor is officially wrapped up, the administrative side of roof replacements requires immediate attention. Registering your manufacturer warranty online immediately is highly recommended to ensure you receive full coverage. Keep digital and physical copies of these documents, along with before-and-after photographs, in a secure home file. This extensive paperwork is invaluable for potential future insurance claims and serves as an attractive selling point if you choose to list your home on the market.
Undergoing professional roof replacements can feel incredibly overwhelming, but understanding these structural milestones helps minimize stress and ensures you get the absolute most out of your home improvement investment. By prepping your property beforehand and partnering with an experienced, transparent crew, you can confidently navigate the noise and temporary disruption. Your patience will reward you with a beautiful, durable, and highly protective new roof that adds lasting value and peace of mind to your household for decades to come. For more information on what to expect from roof replacements, please reach out to Cornerstone Roofing & Home Improvements today.